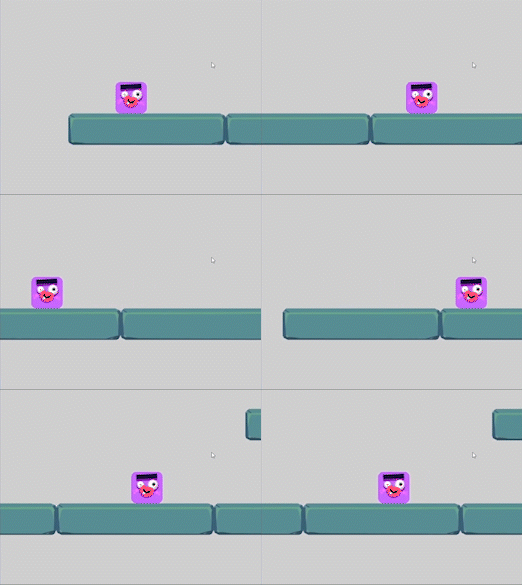
How to follow the player (or an object) with the camera?
Following a character (also called an "Object") with a camera is a key aspect of video game design that creates an immersive experience for players. This article includes instructions for implementing this functionality either with a simple extension like "Smooth Camera" or a set of actions on the Event Sheet.

Before stating
GDevelop's cameras are linked to layers: each layer has its own camera, which allows the creator to configure each camera separately. This system allows the game to have a GUI with life bars and menus fixed on the top of the screen, while other parts of the game are followed by a camera.
To achieve the best result, the platforms in which the character is moving have to be placed on the same Layer as the character.
Tip
Each layer has a camera. This keeps some objects fixed on the scene (GUI, for example) while other elements move.
This is useful to do parallax effects or to follow the player around while the GUI stays fixed.
Follow an object with the "Smooth Camera" extension
The "Smooth Camera" extension automatically manages camera set up and inertia. Playing with the values of "Catch-up", "Speed" and "Delay" will give the camera a different feel.
To use the Smooth Camera extension, do the following:
- Ensure the "Smooth Camera" extension has been installed on your Project.
- The Smooth Camera behavior has been applied to the character you wish to follow
- The character and the platform are on the "Base Layer" (this can be verified with the Properties Panel).
Once this behavior is added, the camera will automatically follow the object when it's moving. To configure in which direction the camera will move, use the values "Follow on X axis" to follow the character horizontally, and "Follow on Y axis" to follow the character vertically.
If you don't want to use an extension and you're up for a coding challenge, you can configure the camera directly on the Event Sheet of your scene:
Follow an object with Event Sheet actions
To configure the camera to follow an object, go to the Event Sheet and add an Action (no need to set a Condition) called "Center the camera on an object".
After that, select the character that will be followed by the camera, and check that the "Base Layer" is selected as the one that the camera will follow. Keep in mind that if the character has been placed in another layer, this fact will have to be specified on the Action's parameters.
The Action should look like this:

Advanced: modify camera inertia with actions and formulas
To add camera inertia and a smoother transition watch this video tutorial to learn how to use the Camera Center positions on the X and Y axis, along with "lerp" expressions and formulas.